MacOS 备忘录 
约 333 个字 49 行代码 预计阅读时间 2 分钟
基础 
mac 默认使用 zsh
快捷键 
conda 环境 
Miniconda — Anaconda documentation miniconda下载 m1/m2 MAC OS m2安装和卸载miniconda - 知乎 安装
# 文件名是自己下载的sh文件,-p后面填安装路径
# -b 表示将环境变量自动写入到~/.bash文件中
sh Miniconda3-latest-MacOSX-arm64.sh -b -p ~/miniconda3
前往安装地址,打开终端
source /bin/activate
执行
conda init zsh #zsh执行这个命令
或者
conda init bash #bash执行这个命令
加入路径
注意:上面的”/yourpath”要替换成你自己的Anaconda安装目录。
按esc退出编辑模式,保存文件并退出(输入”:wq”回车)
vim ~/.zshrc
export PATH=/yourpath/anaconda3/bin:$PATH
source ~/.zshrc
换 conda 源 
conda config --add channels https://mirrors.tuna.tsinghua.edu.cn/anaconda/cloud/conda-forge/
conda config --add channels https://mirrors.tuna.tsinghua.edu.cn/anaconda/pkgs/free/
conda config --add channels https://mirrors.tuna.tsinghua.edu.cn/anaconda/pkgs/main/
conda config --append channels https://mirrors.tuna.tsinghua.edu.cn/anaconda/cloud/fastai/
conda config --append channels https://mirrors.tuna.tsinghua.edu.cn/anaconda/cloud/pytorch/
conda config --append channels https://mirrors.tuna.tsinghua.edu.cn/anaconda/cloud/bioconda/

# 搜索时显示通道地址
conda config --set show_channel_urls yes
conda config --add channels https://mirrors.ustc.edu.cn/anaconda/pkgs/main/
conda config --add channels https://mirrors.ustc.edu.cn/anaconda/pkgs/free/
conda config --add channels https://mirrors.ustc.edu.cn/anaconda/cloud/conda-forge/
conda config --add channels https://mirrors.ustc.edu.cn/anaconda/cloud/msys2/
conda config --add channels https://mirrors.ustc.edu.cn/anaconda/cloud/bioconda/
conda config --add channels https://mirrors.ustc.edu.cn/anaconda/cloud/menpo/

conda config --set show_channel_urls yes
换 pip 源 
解决方案:将配置好国内源的pip.conf文件 , 放在 ~/Library/Application Support/pip 中。
可能有的新用户发现自己的文件夹中没有 pip 文件夹,不慌,新建就行!
command + 空格            #  打开聚焦搜索
输入 ~/Library/Application Support       # 找到Application Support文件夹
在Application Support这个文件夹里面建一个 pip 文件夹 ;
在新建的pip文件夹下建一个pip.conf文件。
在pip.conf文件中输入以下内容,保存并退出。
[global]
index-url = https://pypi.tuna.tsinghua.edu.cn/simple/
[install]
trusted-host=pypi.tuna.tsinghua.edu.cn
卸载 
(1)使用 Anaconda-Clean 包删除所有与 conda 相关的文件和目录
conda activate your_conda_env_name
conda install anaconda-clean
anaconda-clean # add `--yes` to avoid being prompted to delete each one

#注:如果这一步之行不成功,可以直接跳过
(2) 删除整个目录(直接删掉安装文件就可)
rm -rf ~/miniconda3
(3) 删除将 conda 路径添加到 PATH 环境变量的行(或者注释掉)
注:其实只之行第二步就可,后边这两步为了再次安装时,环境冲突,所以删干净
vi ~/.bashrc
# -> Search for conda and delete the lines containing it
# -> If you're not sure if the line belongs to conda, comment it instead of deleting it just to be safe
source ~/.bashrc
vi ~/.zshrc
# -> Search for conda and delete the lines containing it
# -> If you're not sure if the line belongs to conda, comment it instead of deleting it just to be safe
source ~/.zshrc
(4) 删除配置文件
rm -rf ~/.condarc
#注:自己找一下~/.conda 开头的文件,删掉
vscode 的 python 环境 
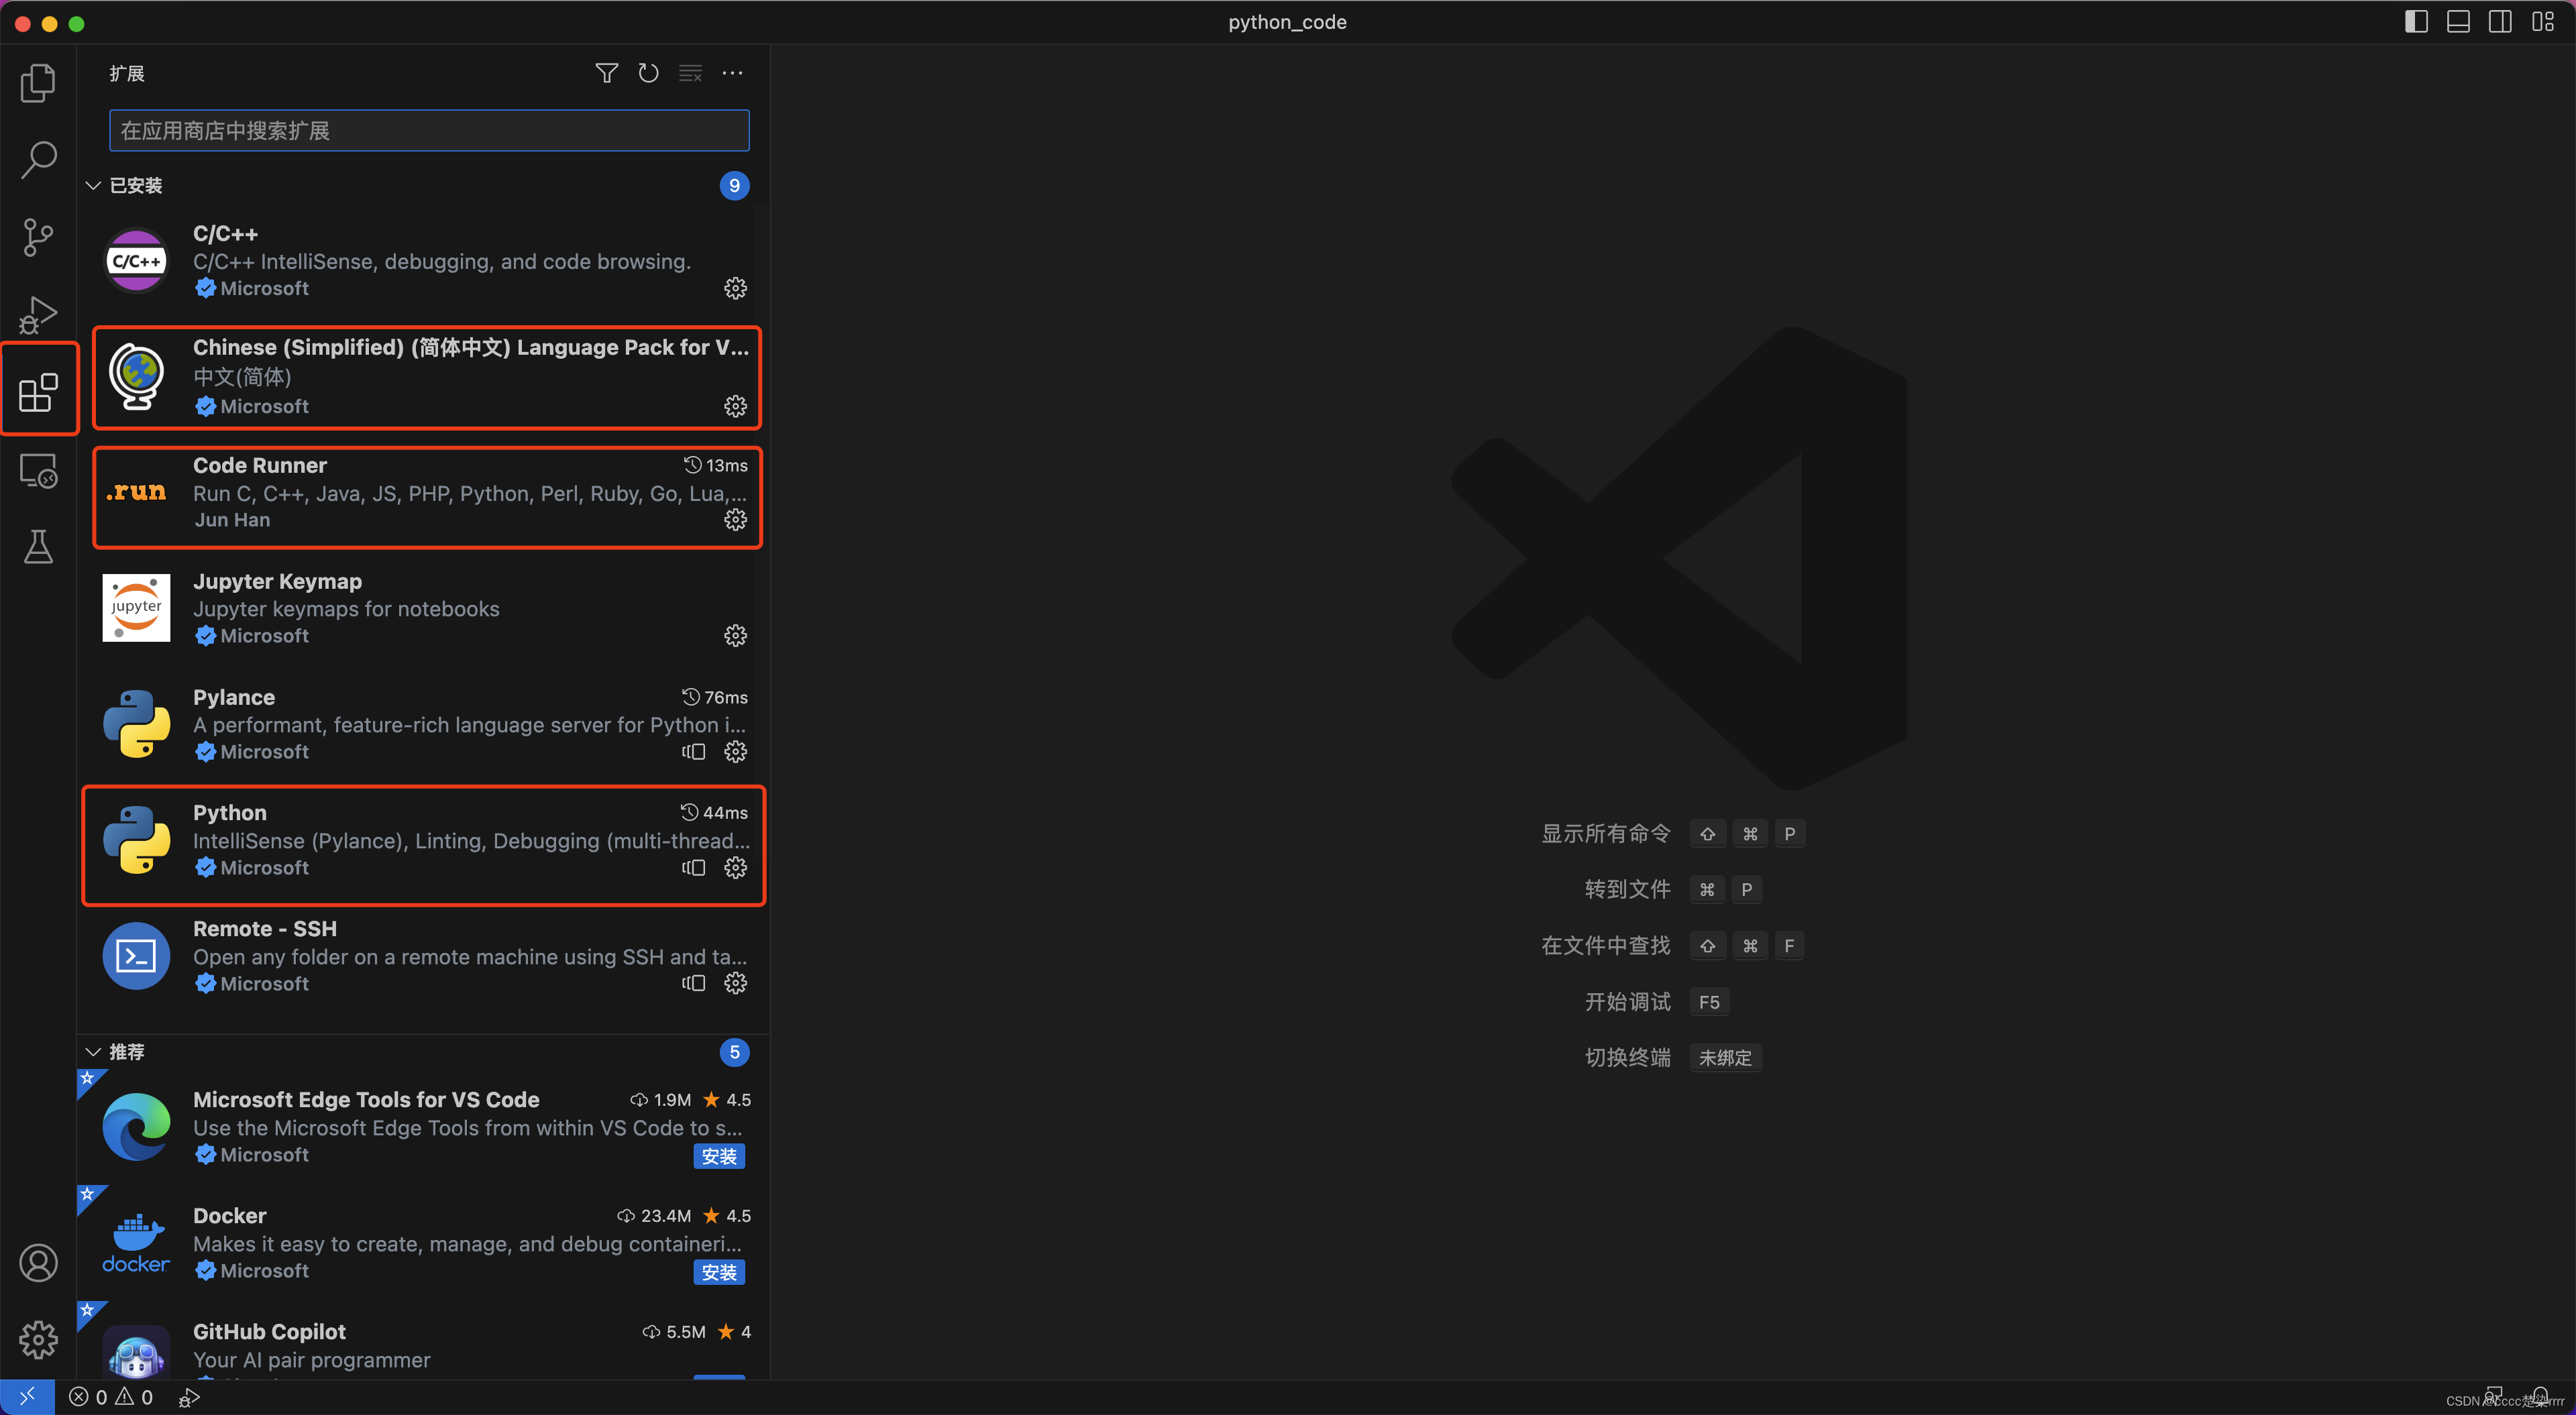
安装插件

F1 -> Python: Select Interpreter -> 选择你的环境
或者右下角有个环境选择,右键把选择编辑器勾上